
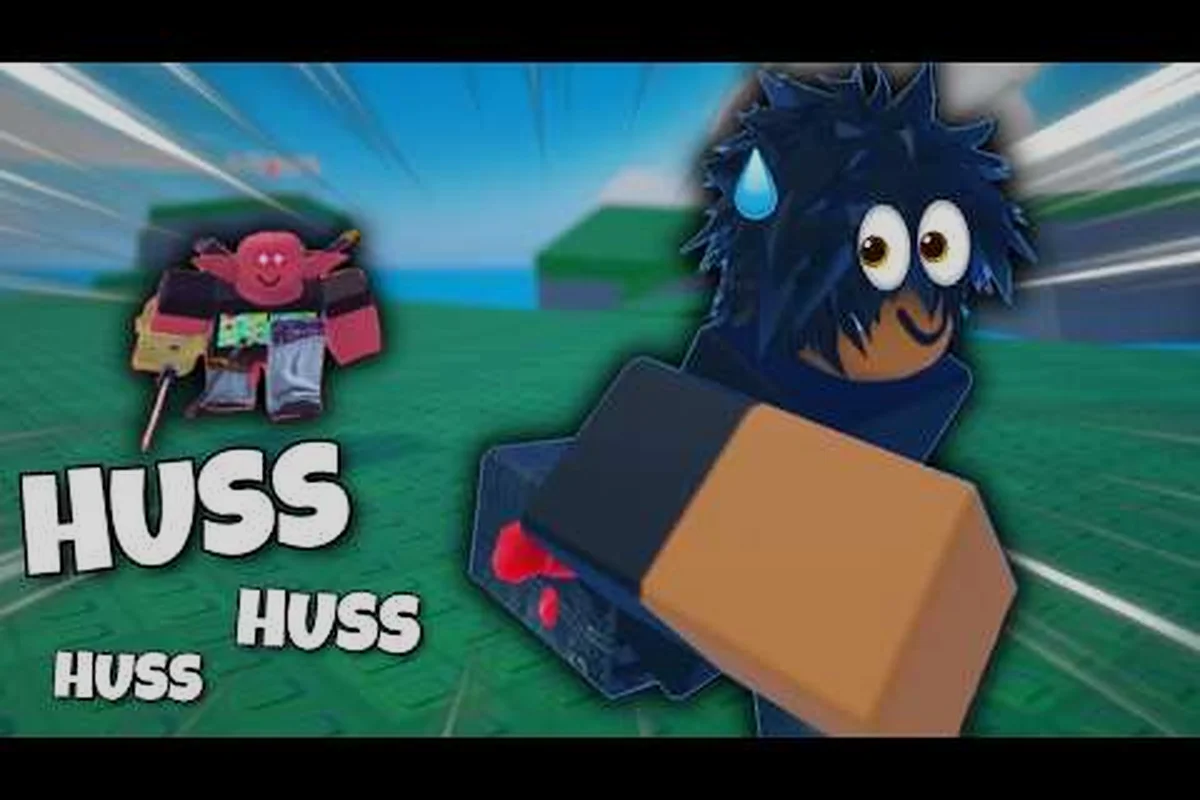
Effective chaser play in Huss Valley depends on reading runner intent before committing to a lunge, because every missed tag creates a recovery window that skilled runners exploit to gain distance. The Clone Replicator and Size Shift abilities transform standard chase patterns into layered pressure systems, letting you cut routes and force corner catches instead of relying on straight-line speed. This guide breaks down the movement principles, ability timings, and positioning tactics that separate consistent chasers from players who burn stamina chasing shadows.
Core Chaser Movement Principles
Chaser movement in Huss Valley is built around lunge timing and route prediction rather than raw pursuit speed. When a runner commits to a turn or a vault animation, they lock themselves into a brief recovery state that you can punish with a well-timed lunge. The key is to wait for that commitment instead of swinging early, because an early lunge leaves you recovering while the runner changes direction. According to the official Huss Valley game page, experienced chasers predict the shortest path to cut off alleyways rather than chasing directly behind a runner.
The movement loop has three distinct phases that repeat throughout every round. First, you read the runner's body language and map position to anticipate their next turn. Second, you position yourself on the inside angle of that turn so your lunge connects at the corner rather than in open space. Third, you recover from the lunge while scanning for the next route option, because runners often double back when they see you commit. This loop rewards players who stay calm under pressure and avoid tunnel vision on a single target.
| Movement Phase | Primary Action | Common Mistake | Correction |
|---|---|---|---|
| Read | Track runner's turn commitment | Chasing straight behind | Hold the inside angle |
| Strike | Lunge at recovery window | Swinging too early | Wait for vault or turn lock |
| Recover | Scan for next route | Tunnel vision on one runner | Check nearby escape paths |
The difference between a mediocre chaser and a dominant one often comes down to how well you manage the space between you and the runner. Closing distance matters less than controlling the angles, because runners in Huss Valley can juke through tight corridors and break line of sight quickly. When you understand the movement mechanics behind lunge recovery and route cutting, you can start layering gadget pressure on top of your base chase pattern.
Clone Replicator Mechanics and Setup
The Clone Replicator adds autonomous pressure to your chase by creating a duplicate that can harass runners from a different angle. This gadget works best when you deploy it at a choke point or near a common escape route, because the clone forces runners to react to two threats simultaneously. A runner who dodges your clone often runs directly into your lunge range, creating a natural pincer movement that would be impossible with solo chasing.
Understanding how to use the Clone Replicator effectively starts with placement timing. Deploy the clone before you commit to a chase, not during the middle of a lunge recovery, because the activation animation leaves you vulnerable for a brief moment. The ideal setup places the clone on the far side of a corridor while you approach from the near side, which limits the runner's escape options to a narrow window between you and the duplicate.
Clone Placement Scenarios
Different map layouts reward different clone placements. In tight indoor sections, place the clone at the exit door while you push through the main entrance. In open courtyard areas, deploy the clone near a vault point or climbable ledge that runners frequently use to break line of sight. The clone's autonomous behavior means it will chase nearby runners on its own, but its value comes from the positional pressure it creates rather than its raw tag rate.
| Map Area Type | Clone Placement | Runner Reaction | Chaser Follow-up |
|---|---|---|---|
| Tight corridor | Exit door block | Runner turns back | Lunge at the turn |
| Open courtyard | Vault point cover | Runner hesitates | Close distance |
| Multi-level | Top of stairs | Runner drops down | Cut off landing |
| Choke point | Center of choke | Runner goes wide | Flank the wide route |
The Clone Replicator guide that most players need focuses on the mental pressure it creates. Runners who know a clone is active play more cautiously, which slows their movement and makes them easier to predict. This psychological effect compounds when you deploy the clone early in a round, because runners never know when the duplicate will appear in their escape path. The ability to force hesitation is just as valuable as the ability to land tags, especially against experienced runners who rely on confident movement.
Size Shift Ability Breakdown
Size Shift provides crowd control through a temporary size change that alters your hitbox and movement profile. When you activate Size Shift, your character's dimensions change in a way that can block doorways, cover wider areas with your lunge, or squeeze through gaps that would normally be inaccessible. This ability shines in head-to-head situations where a single runner tries to juke you in a confined space, because the size change disrupts their spacing calculations.
The timing of Size Shift matters more than most players realize. Activating it too early telegraphs your intention and gives runners time to adjust their route. Activating it as you enter a choke point or as a runner commits to a tight corner forces them to recalculate their escape path mid-animation, which often leads to a mistimed jump or a failed vault. The ability works best as a reactive tool that punishes overcommitment rather than a proactive buff that you pop at the start of a chase.
Size Shift Timing Windows
Every runner animation has a window where they cannot change direction. Vaults, climbs, and slide animations all lock movement for a fraction of a second, and that lock window is where Size Shift creates the most value. When you see a runner begin a vault animation, activating Size Shift changes the geometry of their landing zone, which can cause them to land in your lunge range instead of clearing the obstacle cleanly.
| Runner Action | Lock Window | Size Shift Response | Expected Outcome |
|---|---|---|---|
| Vault over ledge | 0.4-0.6 seconds | Activate mid-vault | Runner lands in lunge range |
| Slide under gap | 0.3-0.5 seconds | Activate at gap exit | Runner blocked or forced wide |
| Climb ladder | 1.0-1.5 seconds | Activate at ladder top | Runner trapped at peak |
| Corner turn | 0.2-0.3 seconds | Activate before turn | Runner misjudges spacing |
The Size Shift guide that elevates your play focuses on using the ability to control space rather than just to change your own movement. A larger hitbox means you can block a doorway or corridor entirely, forcing runners to find an alternate route that you can predict. A smaller hitbox lets you slip through gaps that runners think are safe, which creates surprise tags from angles they never expected. Both modes have value, and the best chasers switch between them based on the map section and the runner's habits.
Combining Clone Replicator and Size Shift
The real power of Huss Valley chaser movement emerges when you layer Clone Replicator and Size Shift into a single pressure sequence. Deploy the clone to push a runner toward a specific exit, then activate Size Shift to block that exit or alter the geometry of the escape route. The runner now faces a clone behind them, a size-shifted chaser in front of them, and no clean path to safety. This combination forces panic decisions that lead to mistimed movements and easy tags.
The sequence works because each ability covers the other's weakness. Clone Replicator creates pressure but cannot land tags on its own with high consistency. Size Shift creates direct threat but leaves you vulnerable during the activation window. When you use them together, the clone covers your Size Shift activation by keeping the runner occupied, while Size Shift converts the clone's positional pressure into a guaranteed tag opportunity. This synergy is what makes the combination so effective against skilled runners.
Pressure Sequence Examples
Practice these sequences in custom matches before taking them into live rounds, because the timing windows are tight and require muscle memory to execute consistently. Each sequence assumes you have both abilities off cooldown and a runner within one screen of your position.
| Sequence | Step 1 | Step 2 | Step 3 | Ideal Map Section |
|---|---|---|---|---|
| Pincer Trap | Deploy clone at far exit | Push runner toward clone | Size Shift to block side route | Indoor corridor |
| Corner Ambush | Deploy clone at corner | Wait for runner to dodge clone | Size Shift and lunge at dodge | Courtyard corner |
| Vertical Lock | Deploy clone at ladder base | Chase runner up ladder | Size Shift at ladder top | Multi-level tower |
| Choke Collapse | Deploy clone at choke center | Flank wide with Size Shift | Lunge at forced wide route | Narrow alley |
The combination also creates opportunities for team play when multiple chasers coordinate their gadgets. One chaser deploys a clone to herd runners while another activates Size Shift to block the escape route. This level of coordination requires communication, but the payoff is a near-guaranteed tag on even the most evasive runners. The chaser guide covers additional team tactics and lunge timing fundamentals that complement the ability combos described here.
Advanced Route Cutting with Gadgets
Route cutting is the highest-skill chaser movement technique in Huss Valley, and both Clone Replicator and Size Shift enhance it significantly. Instead of following a runner's path, you predict where they are going and position yourself to intercept them at the destination. The clone lets you cut one route while you personally cut another, effectively covering two escape options simultaneously. Size Shift lets you physically block a route that you cannot reach in time, which extends your effective coverage area.
The mental model for advanced route cutting is a branching tree of possible runner paths. At each decision point, the runner chooses between two or three options based on your position and the map layout. Your job is to prune those branches by covering the most likely options with your body, your clone, or your Size Shift hitbox. The fewer branches that remain open, the more predictable the runner becomes, and predictable runners are easy to tag.
Route Cutting Decision Matrix
When you approach a junction where a runner might turn left, right, or continue straight, use this matrix to decide how to allocate your resources. The matrix assumes you have both abilities available and a runner within two seconds of the junction.
| Runner Habit | Clone Placement | Size Shift Use | Personal Position |
|---|---|---|---|
| Always turns left | Cover left exit | Block straight path | Push from right |
| Prefers high ground | Cover ladder or stairs | Block low exit | Cut off climb start |
| Jukes at corners | Cover corner exit | Activate at corner | Hold center angle |
| Runs to open space | Cover nearest exit | Block tight gap | Flank from side |
The best chasers develop an intuition for runner habits over multiple rounds. Pay attention to which routes a runner favors early in the match, then use that information to set up route cuts later. A runner who always climbs the same tower becomes easy to intercept when you place a clone at the ladder base and Size Shift at the tower top. This pattern recognition is what separates players who react to movement from players who control the entire chase flow.
Ability Cooldown Management
Both Clone Replicator and Size Shift have cooldown periods that force you to plan their usage carefully. Wasting both abilities on a single low-percentage chase leaves you without tools for the next engagement, which skilled runners will exploit. The key is to use abilities when they create a guaranteed advantage rather than when they merely feel useful in the moment.
Tracking cooldowns mentally becomes second nature after enough practice. The Clone Replicator typically has a longer cooldown than Size Shift, which means you should deploy the clone only when you have a clear plan for the pressure it creates. Size Shift can be used more freely because it comes back faster, but you still want to save it for moments when the size change actually matters. The ability key Q guide explains the full ability system and cooldown interactions in detail.
Cooldown Priority Framework
Use this framework to decide whether an ability usage is worth the cooldown cost. If the expected value of the usage is low, save the ability for a better opportunity later in the round.
| Situation | Clone Replicator Value | Size Shift Value | Recommended Action |
|---|---|---|---|
| Early round, many runners | High - creates map pressure | Medium - save for key chase | Deploy clone, save Size Shift |
| Mid round, 2-3 runners left | Medium - targeted pressure | High - force corner tags | Save clone, use Size Shift |
| Late round, 1v1 | Low - clone easily dodged | High - disrupt jukes | Save clone, use Size Shift |
| Runner trapped in dead end | Low - unnecessary | Low - unnecessary | Save both, use lunge |
The runner guide provides insight into how runners think about ability cooldowns, which helps you predict when they expect you to use your gadgets. Understanding the other side of the matchup makes your ability timing more deceptive, because you can activate at moments when runners believe you are out of options.
Map-Specific Movement Strategies
Different Huss Valley maps reward different movement approaches, and the best chasers adapt their Clone Replicator and Size Shift usage to the terrain. Tight indoor maps favor Size Shift for doorway blocking and clone placement at choke points. Open outdoor maps favor clone deployment at vault points and Size Shift for covering wide angles. Multi-level maps require vertical thinking, with clones placed at ladder tops and Size Shift used to block stairwells.
The official game page notes that when the lobby thins to a head-to-head, chasers shift into 1v1 Arena Duel behavior, tracking jukers and forcing corner catches or team-herding into choke points. This transition requires a different movement mindset than the early round, where you can afford to chase aggressively and rely on map pressure. In the 1v1 phase, every ability usage matters more because there are no other runners to distract from your mistakes.
Map Type Adaptation Table
Use this table to adjust your movement approach based on the map section you are currently fighting in. The adaptations assume you have both abilities available and are actively chasing at least one runner.
| Map Type | Clone Priority | Size Shift Priority | Movement Style |
|---|---|---|---|
| Indoor tight | Choke point block | Doorway block | Slow, methodical |
| Outdoor open | Vault point cover | Wide angle coverage | Fast, sweeping |
| Multi-level | Ladder top block | Stairwell block | Vertical, patient |
| Mixed hybrid | Route exit cover | Corner geometry | Adaptive, reactive |
The community data from the Huss Valley guide video by ItzVexo reinforces that chaser movement improves most when players stop chasing directly and start thinking about where runners will be in three seconds. This forward-thinking approach applies to every map type and forms the foundation of advanced chaser play.
Frequently Asked Questions
How do I use Clone Replicator effectively in Huss Valley?
Deploy the clone at choke points or escape routes before committing to a chase, not during lunge recovery. The clone creates autonomous pressure that forces runners to react to two threats, often pushing them into your lunge range. Placement matters more than timing, so learn map layouts first.
What is the best time to activate Size Shift?
Activate Size Shift when a runner commits to a vault, slide, or climb animation, because those actions lock movement briefly. The size change alters the geometry of their landing zone, causing mistimed jumps or forcing them into your lunge range. Avoid activating too early, which telegraphs your intent.
Can I combine Clone Replicator and Size Shift?
Yes, the combination creates a pincer trap that forces panic decisions. Deploy the clone to push a runner toward an exit, then activate Size Shift to block that exit or alter its geometry. The clone covers your activation window while Size Shift converts the pressure into a tag opportunity.
How do I manage ability cooldowns as a chaser?
Save Clone Replicator for situations where it creates clear map pressure, since its cooldown is longer. Use Size Shift more freely but reserve it for moments when the size change actually matters, like corner tags or doorway blocks. Wasting both abilities leaves you vulnerable to skilled runners.
What movement habits separate good chasers from great ones?
Great chasers predict routes instead of chasing directly, hold inside angles at corners, and use gadgets to prune escape options. They also track runner habits across rounds and adapt their clone placement and Size Shift timing accordingly. This forward-thinking approach creates consistent tags against evasive players.